If you’ve played Sims 4 on Windows or Mac, you’ve probably experienced lag in some form or another. Heads bobbing, time slowing down, going back to the past; these are only a few of the frustrations many gamers have been through. Now, there’s a Simulation Lag Fix that you can install to eliminate these problems.
Simulation Lag Fix for Sims 4
The Simulation Lag Fix works like any other mod for Sims 4. Once you have the right files in the correct locations, the game will play properly without any more issues. However, you should always ensure that you have the latest version installed for it to work effectively.
Step 1: Download the mod
Firstly, head to a reliable source for the file. There are many sites out there with malicious downloads to infect your computer or spy on you. Only obtain the content from the original creator or a website that caters to Sims 4 mods.

Step 2: Extract the files
Once you have downloaded the Simulation Lag Fix, you’ll need to extract the files to be able to use them. You’ll see a folder that you should right-click on and click on ‘extract files.’ A new folder will appear with the mod list.

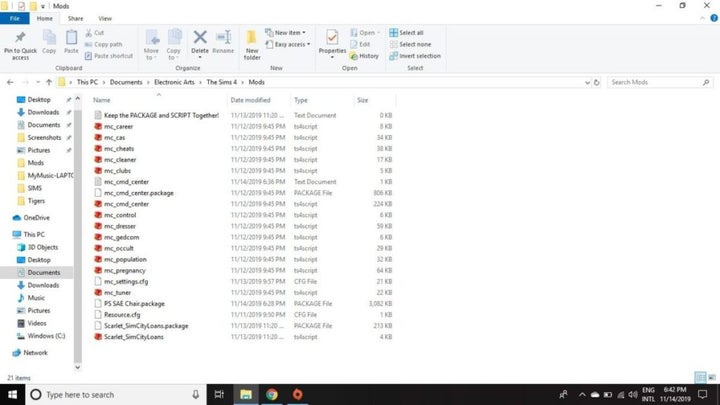
Step 3: Move it to The Sims 4 mod folder
For the mod to take effect, you’ll need to move it to the Sims 4 mod folder. It’s a dedicated location that the game looks at for custom content, so you won’t need to do anything further. When you start the game, check that mods are enabled in the settings.
Lagless simulation gameplay
Now with lagging out of the way, you can enjoy Sims 4 once again. You won’t have to deal with any more frustrations along the way while leveling up your characters. Feel free to play around with the resolution settings and clearing the game cache, as that may also resolve some issues.

